Introduction
When functional testing a services API we only need static request data and validate on expected responses from the server. But that is not the case when doing performance testing for services API. In performance testing we have relatively large numbers of data to test against the API. For that very reason we need to parameterize the request data of the API we are testing so that instead of sending static data to the server, ITAS picks a random data from the large data set we just talked about for each request during the execution of performance testing.
Now we will see how to do the following :
- Parameterize a static test case
- Create a data template
- Use data template
1. Parameterize a static test case
Suppose following is the JSON request data of a search API test case. As you can see we are searching via the "lastName": "Peter James" . But what if we want to use other fields like taxId ,contractId or even combination of multiple fields.
{
  "searchApi": {
    "transactionType": {
      "sourceNameSpace": "dummy namespace 1",
      "eventName": "Search Records",
      "targetNameSpace": "dummy namespace 2",
      "operation": "POST"
    },
    "searchPayLoad": {
      "searchHolder": {
        "contractId": "",
        "firstName": "",
        "lastName": "Peter James",
        "dateOfBirth": "",
        "amount": 0,
        "taxId": "",
        "postalCode": "",
        "phoneNumber": "",
        "status": true
      }
    }
  }
}
One way would be to create another test case with different fields filled. That is fine only when you are functional testing the API where you just quickly need to test the API with different set of data.
But for performance testing we need a way so that a signle test case can be used with multiple set of data. For that first we need to parameterize all the needed fields. To do that replace the field value with following format
if value is a string
//Before
lastName : "Jhon Smith"

//After - enclose in quotation marks
lastName : "${enter any unique name here}"
if value is numeric or boolean
//Before
amount : 55
status : true

//After - don't enclose in quotation marks
amount : ${enter any unique name here}
isAvailable : ${enter any unique name here}
{
  "searchApi": {
    "transactionType": {
      "sourceNameSpace": "dummy namespace 1",
      "eventName": "Search Records",
      "targetNameSpace": "dummy namespace 2",
      "operation": "POST"
    },
    "searchPayLoad": {
      "searchHolder": {
        "contractId": "${search_contractId}",
        "firstName": "${search_firstName}",
        "lastName": "${search_lastName}",
        "dateOfBirth": "${search_dateOfBirth}",
        "amount": ${search_amount},
        "taxId": "${search_taxId}",
        "postalCode": "${search_postalCode}",
        "phoneNumber": "${search_phoneNumber}",
        "status": ${search_status}
      }
    }
  }
}
How to do it in ITAS ?
Ok so you now know the concept of it but let's see how to actually do it in ITAS.
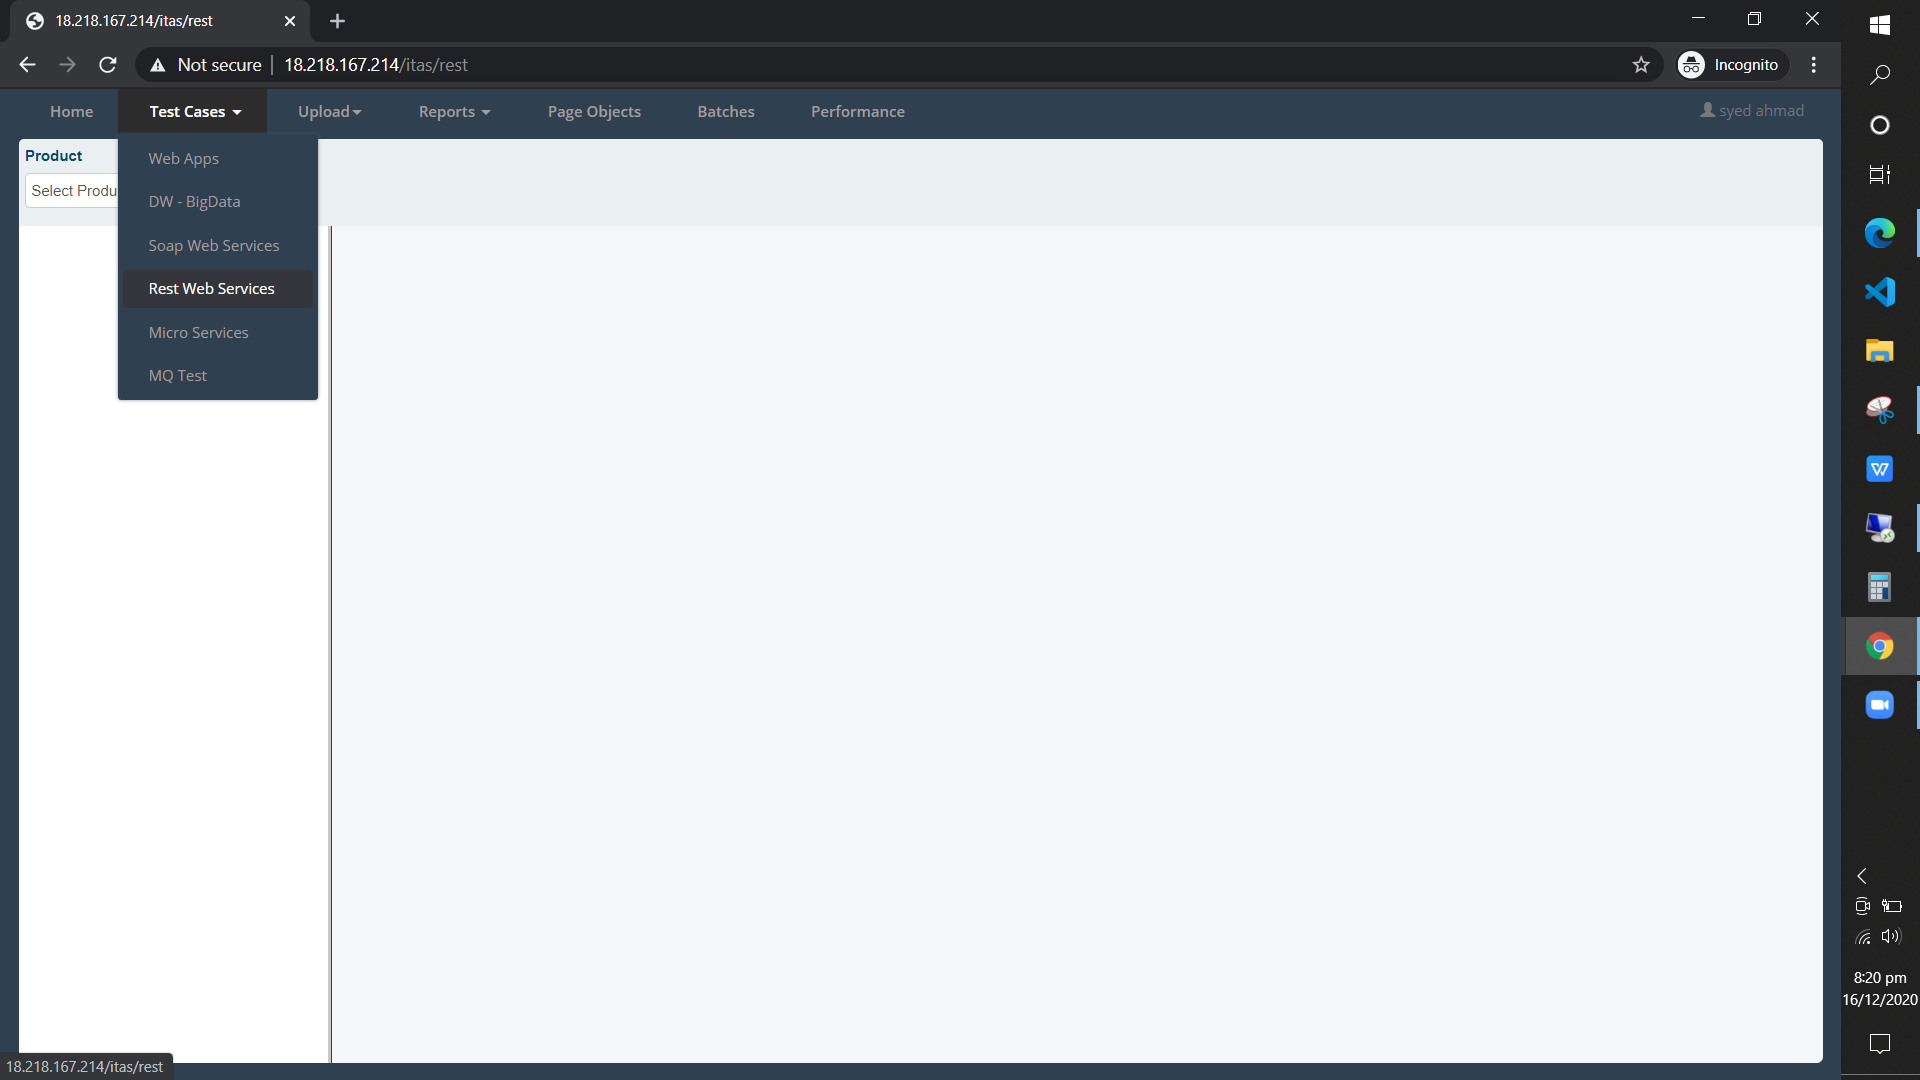
First login to ITAS and navigate to Test Cases > Rest Web Services
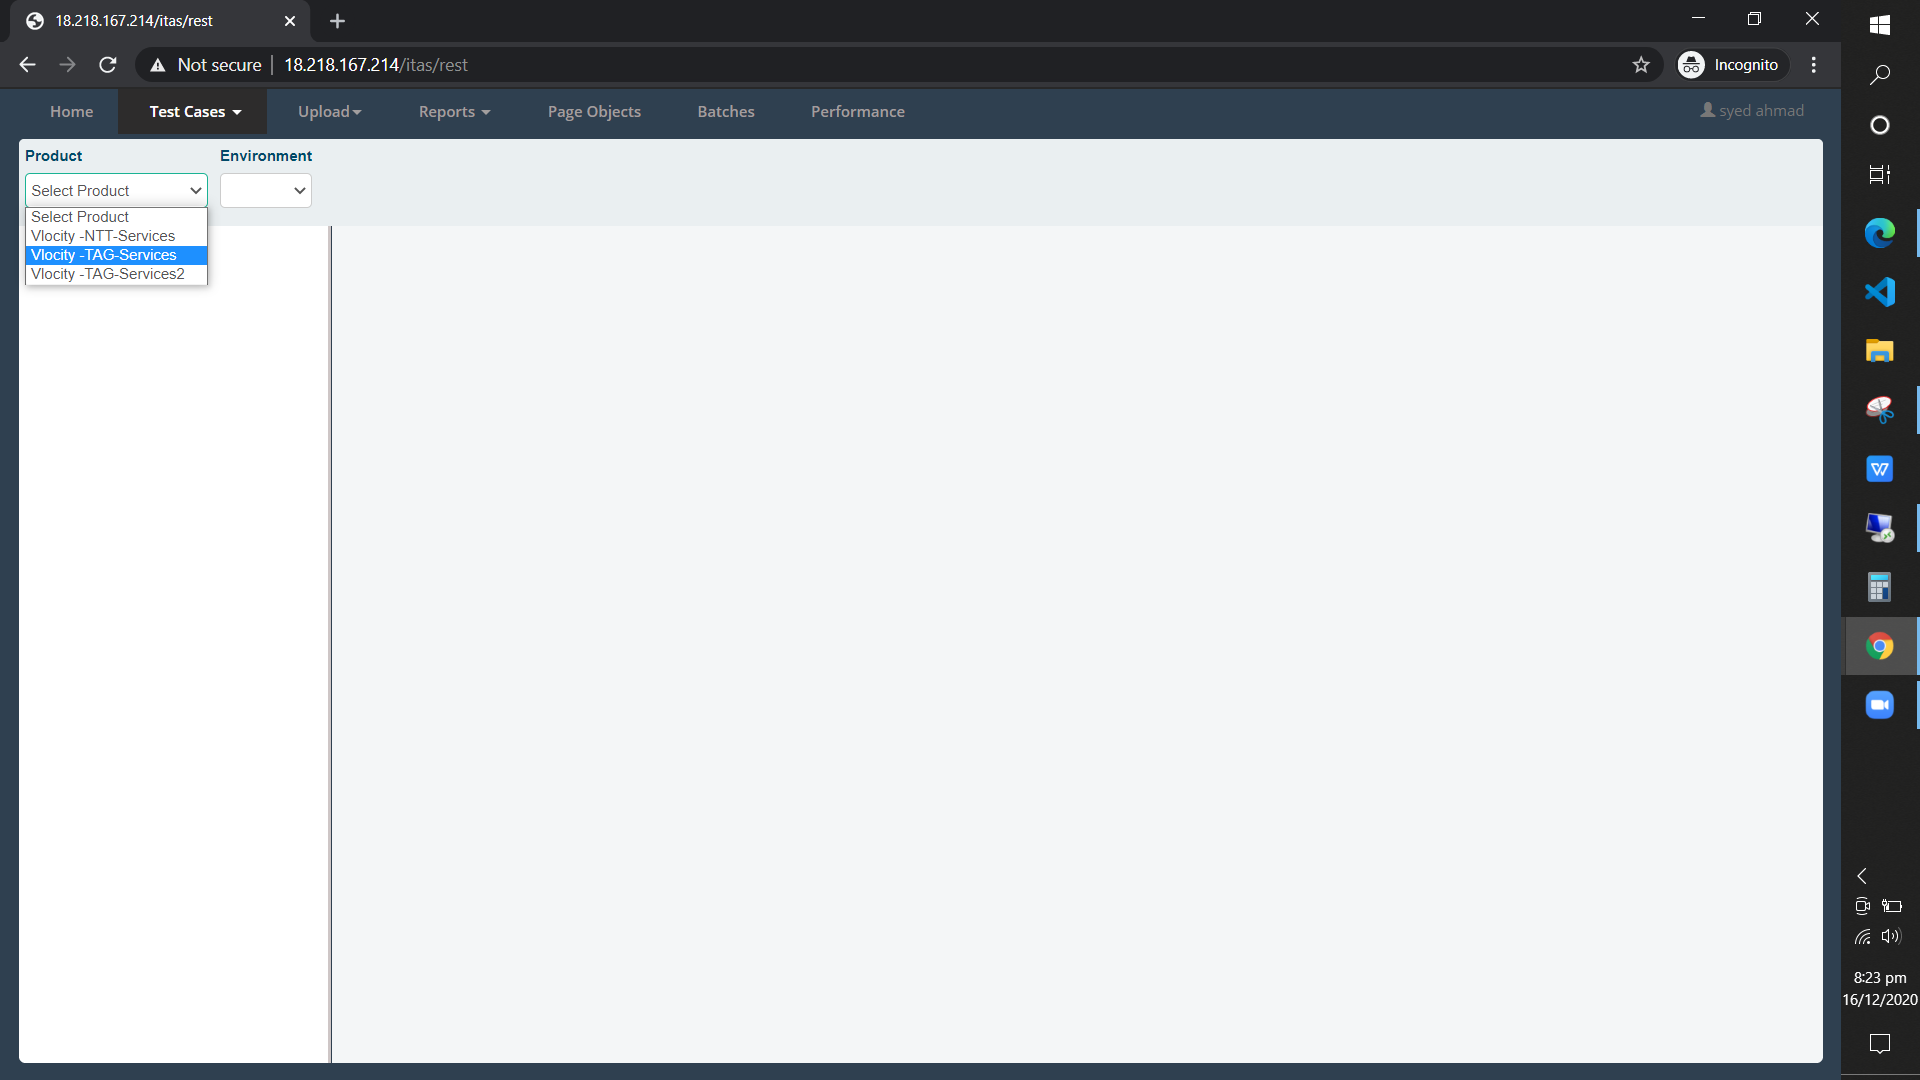
Select your product that contains the services API you are working with
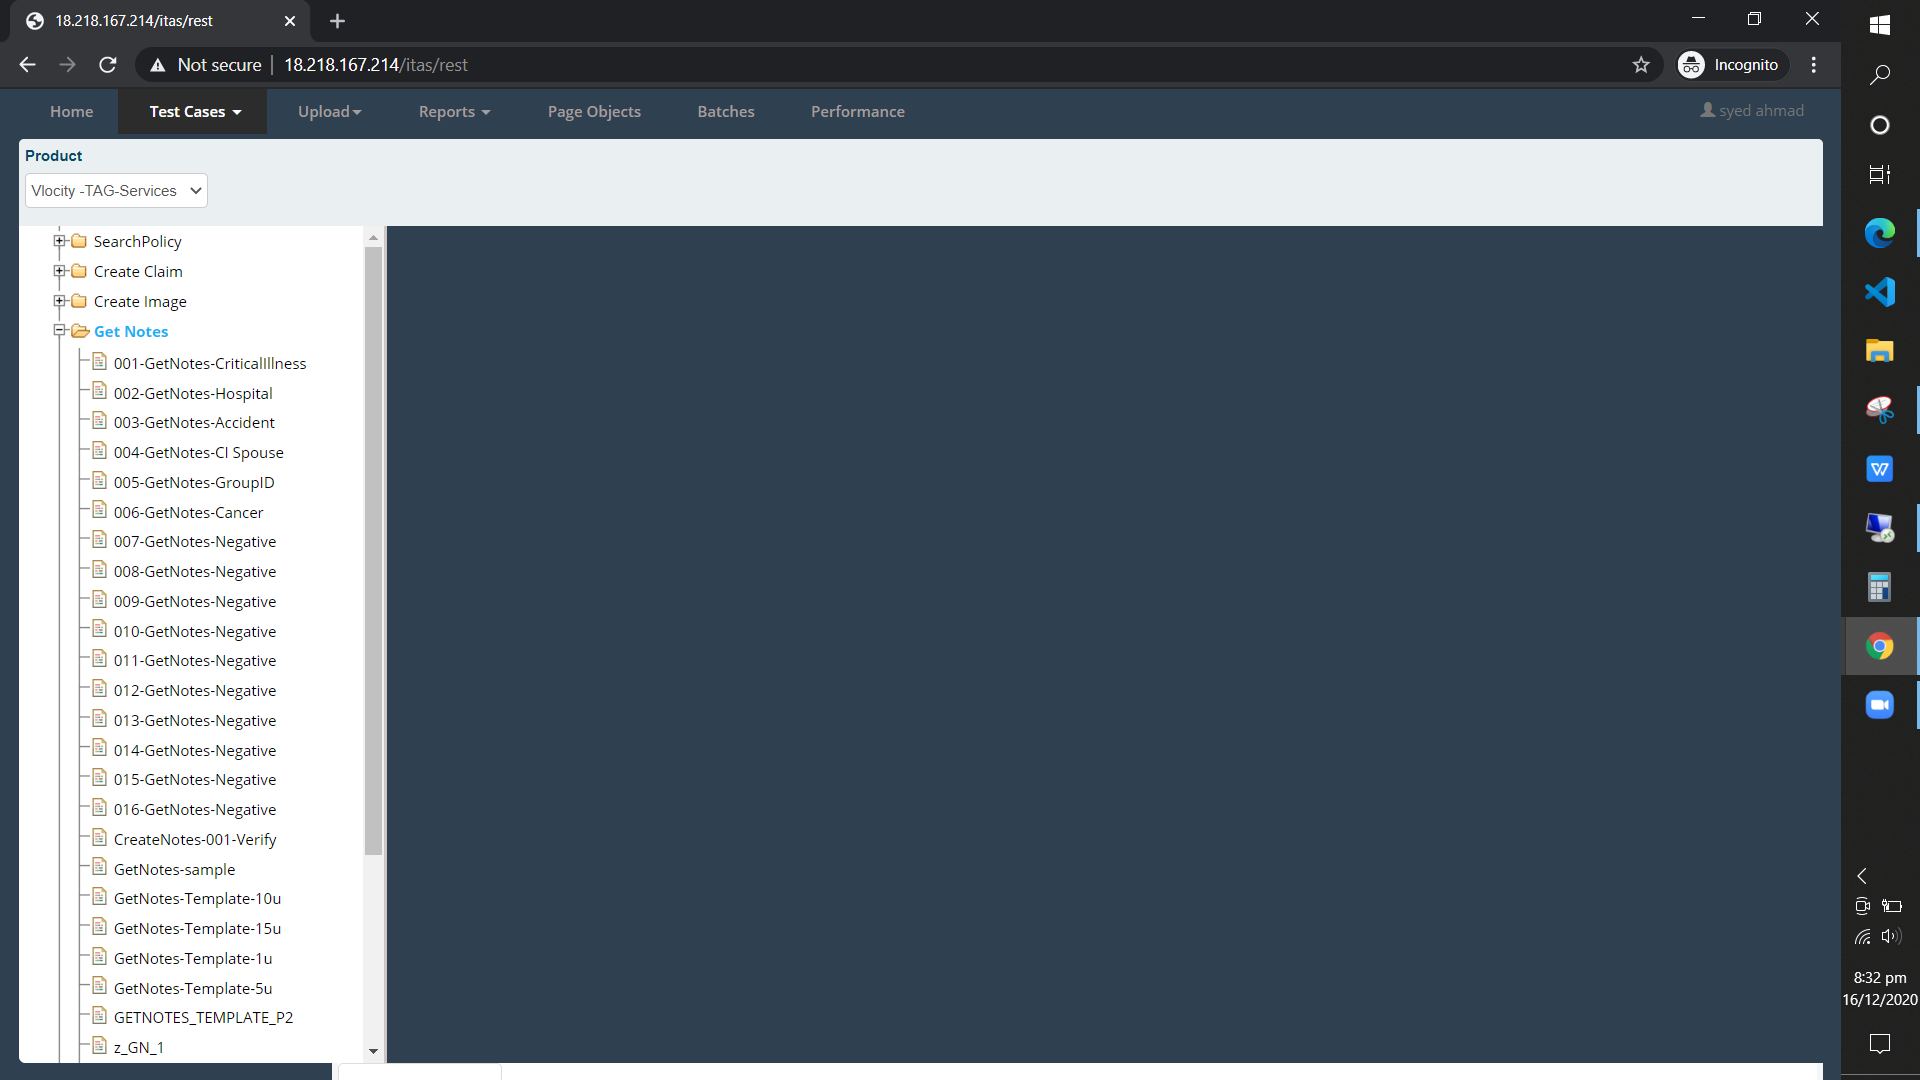
Select the API you want to create a parameterized test case for. Let’s select GetNotes for this example. You will see different API depending on the product you are working on.
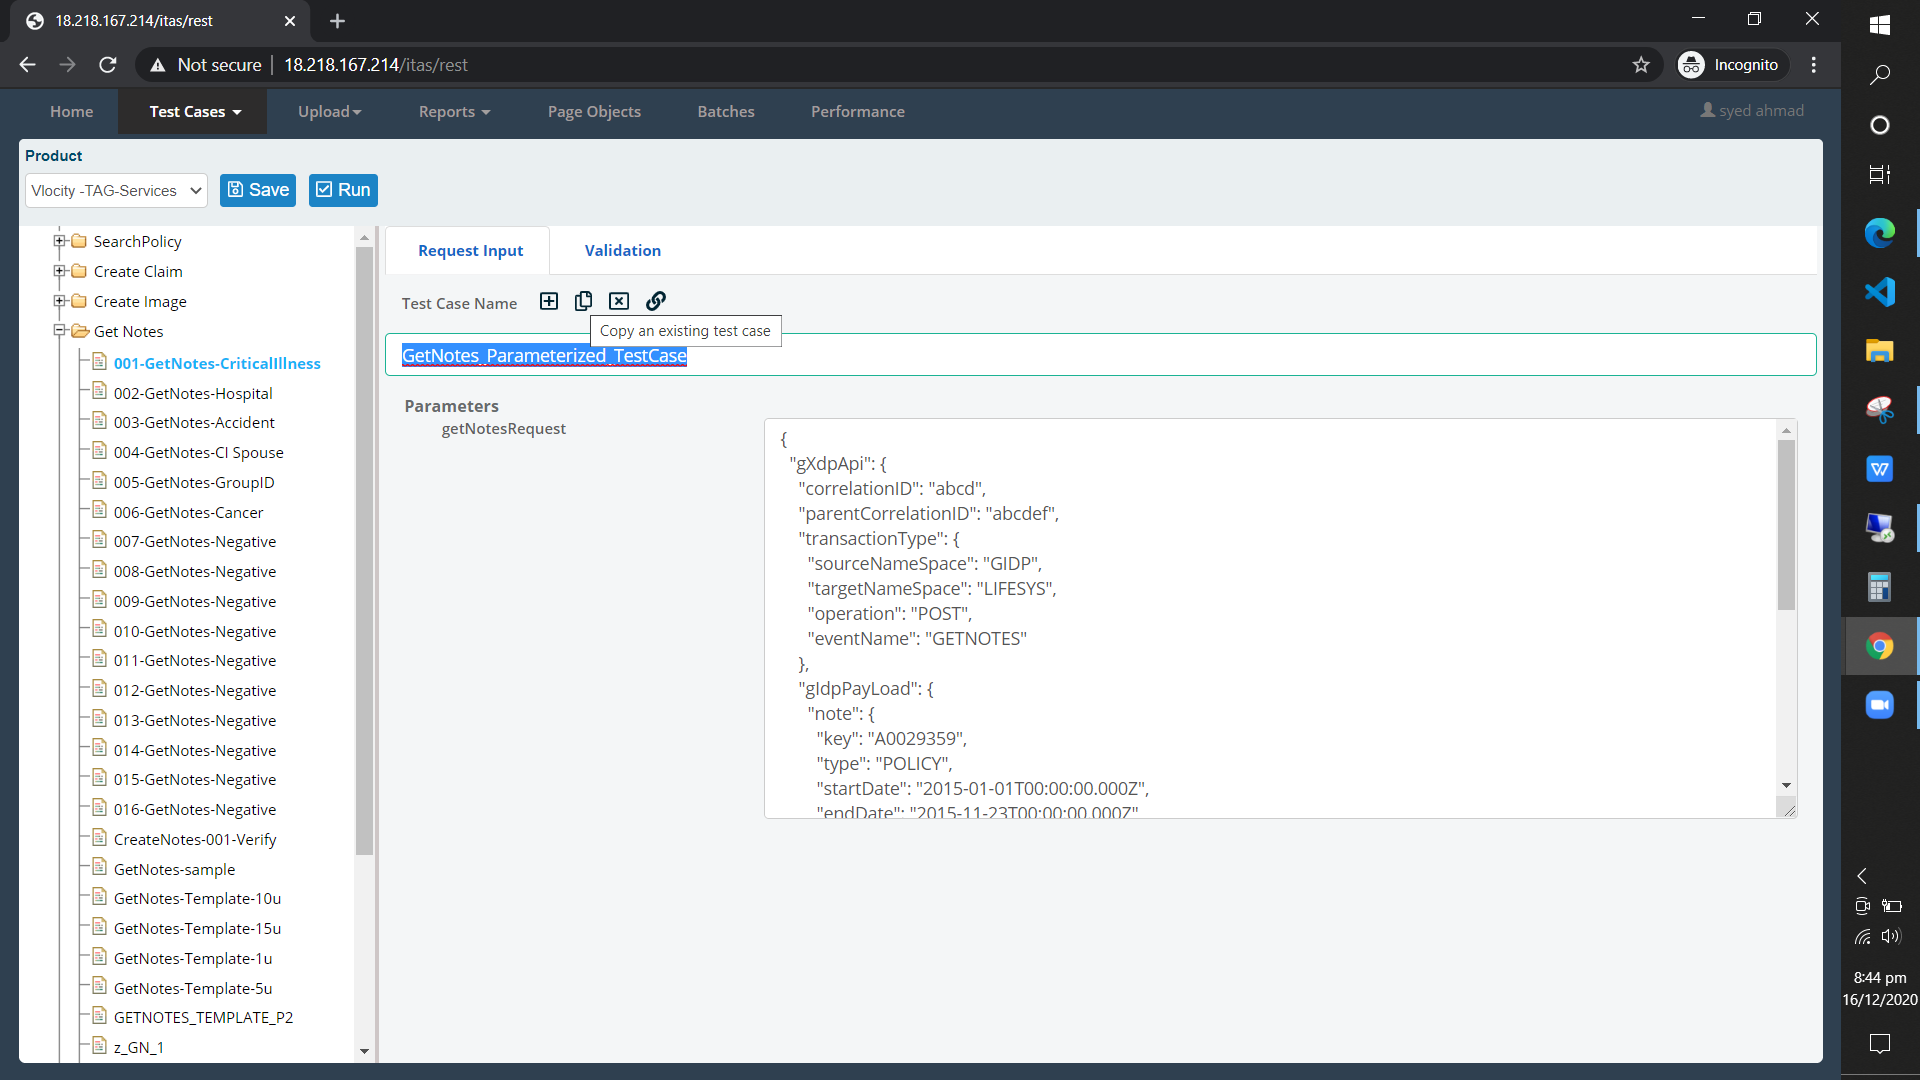
First click on the name itself. It will be highlighted as blue. After that click the + button to expand all the available test cases as seen below
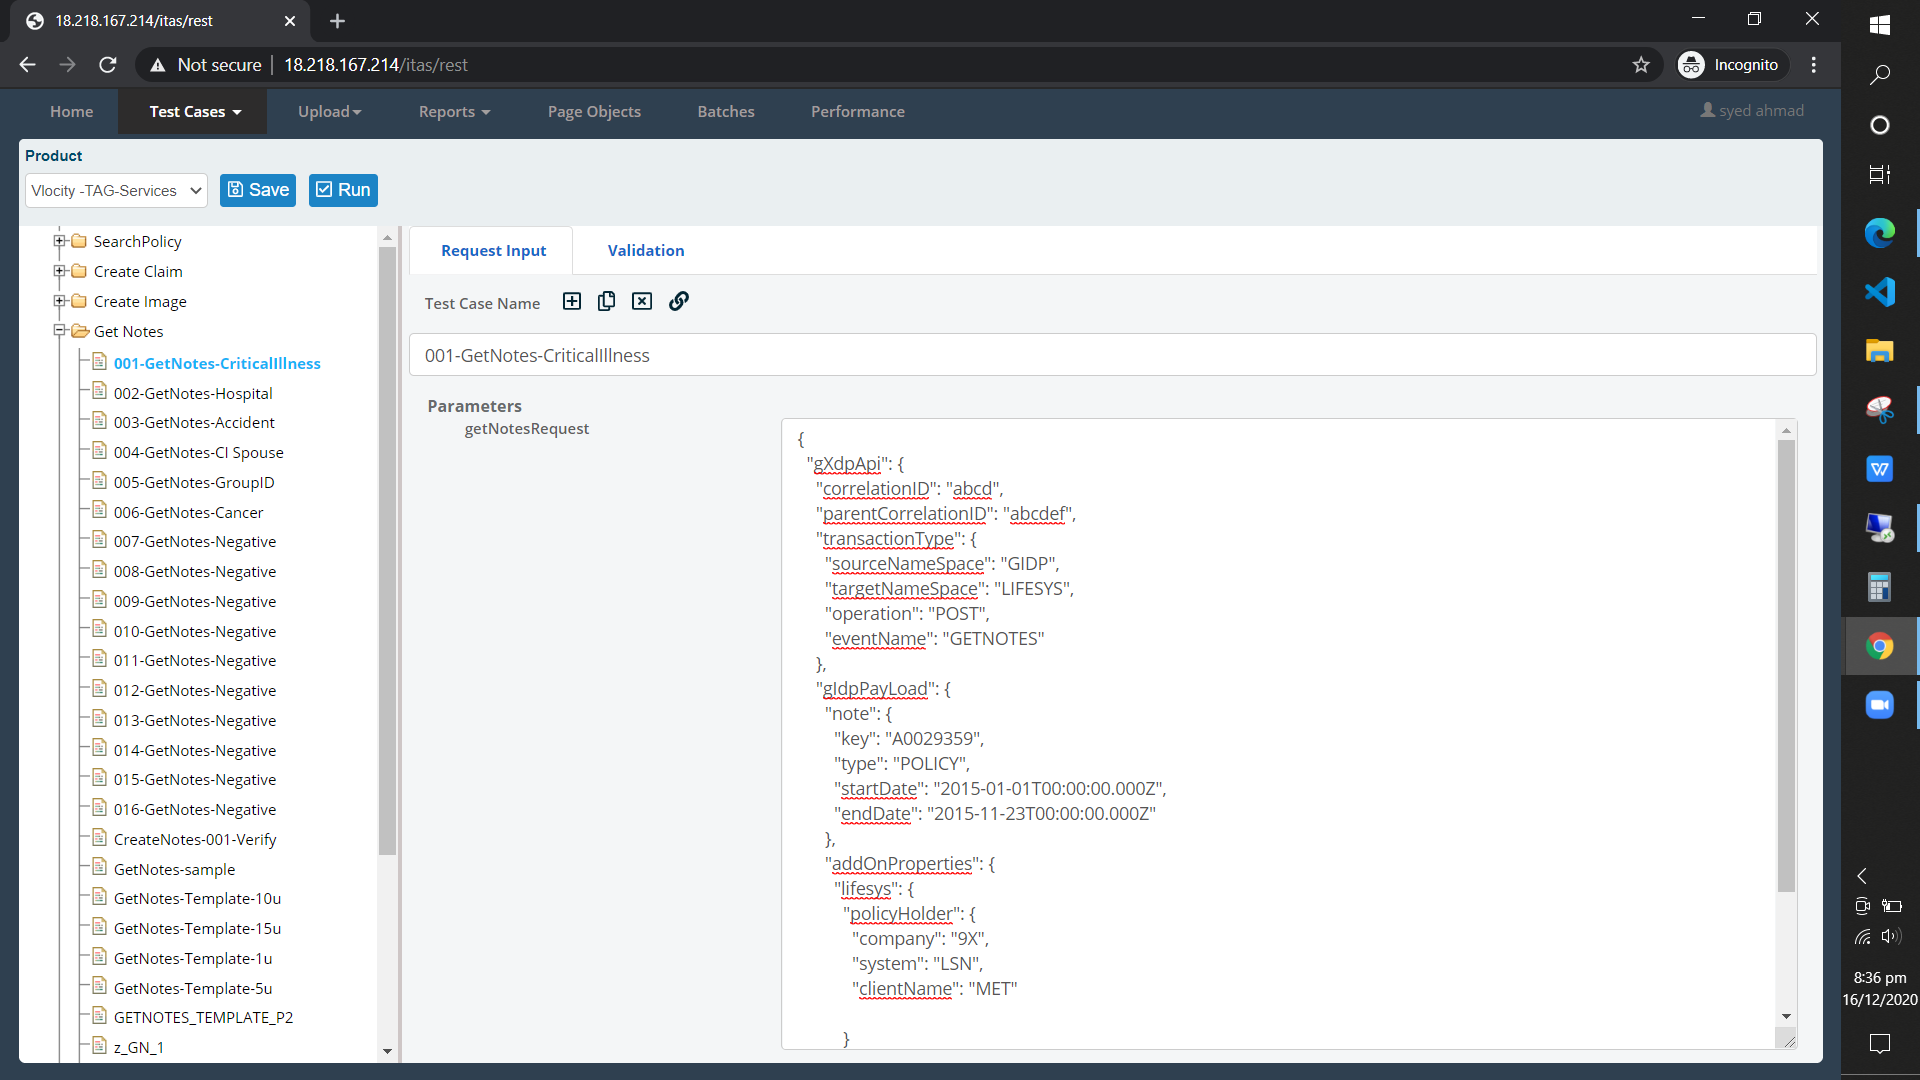
Then click the test case you want to parameterize
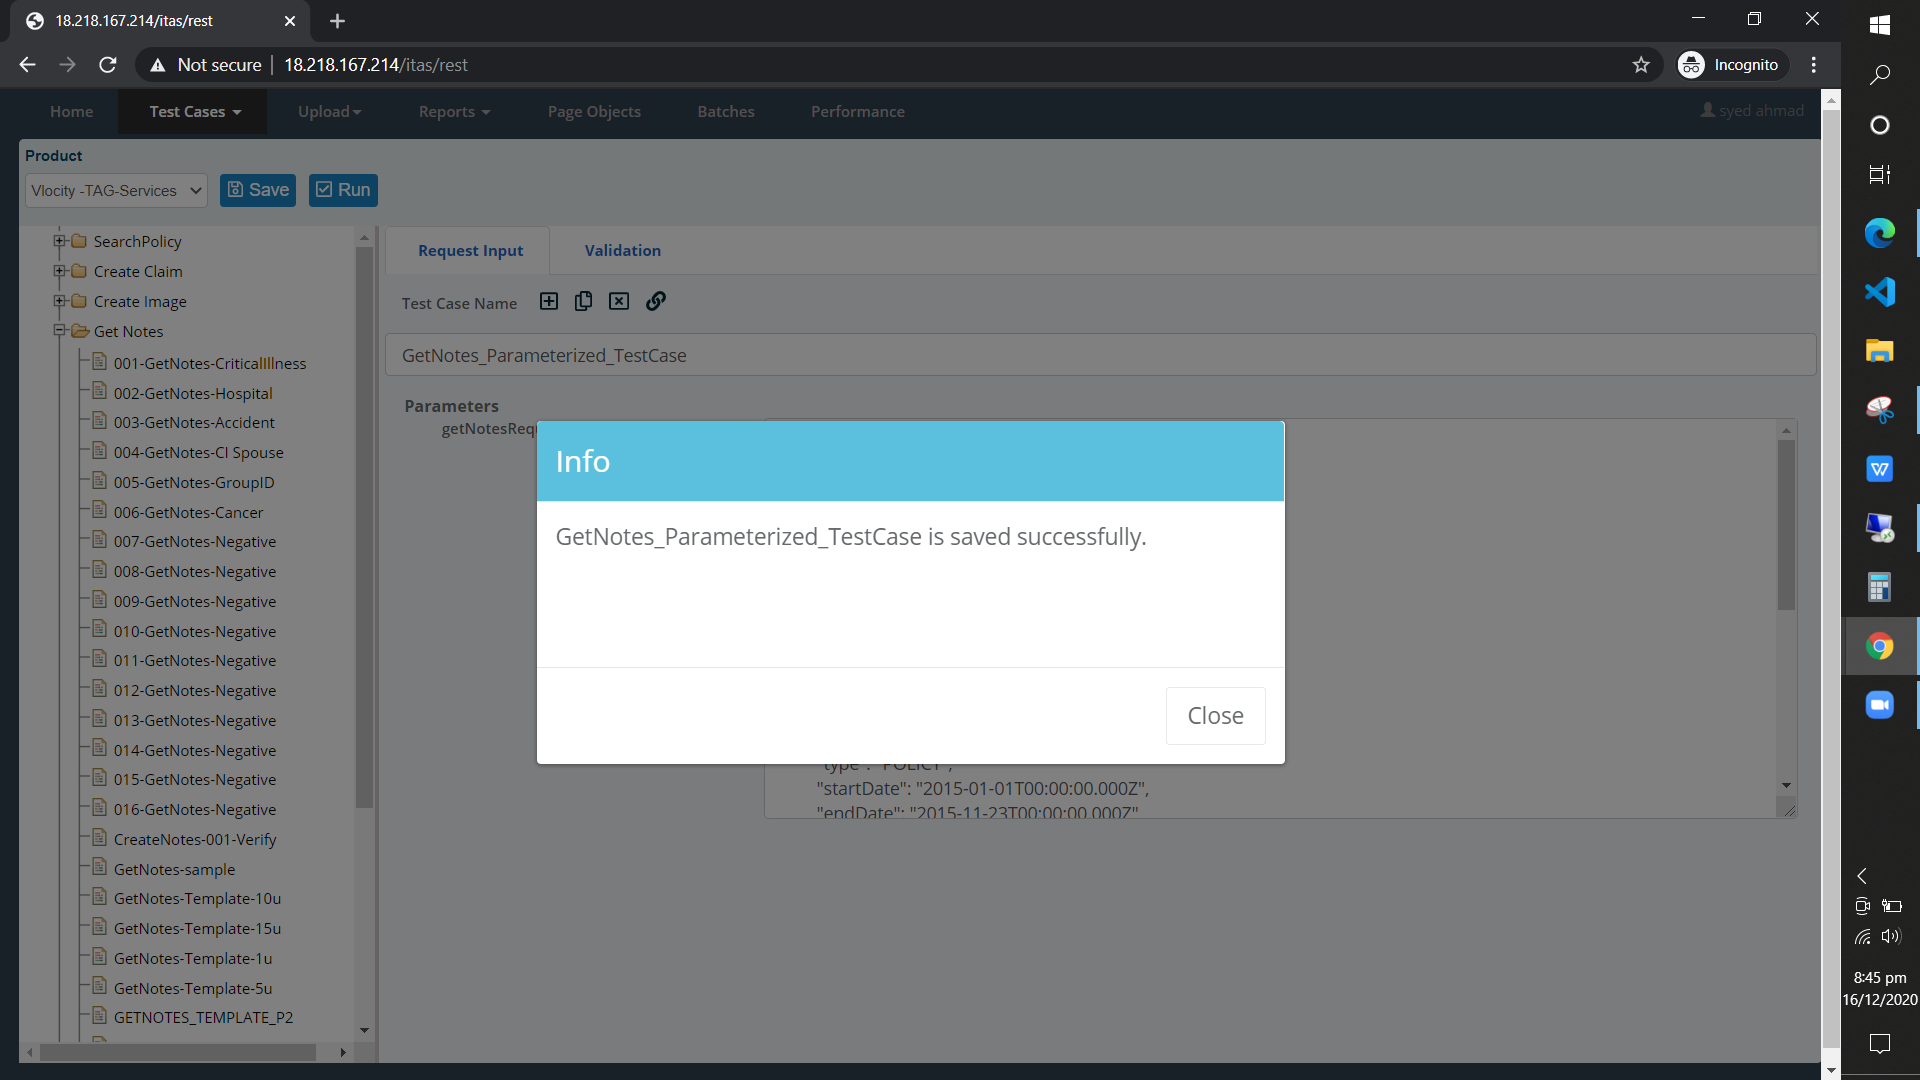
Now create a copy of the selected test case. To do that enter a new name in the input box and click the copy button as shown below. When you click the copy button a message dialog will appear indicating that a new test case is created and saved succesfully
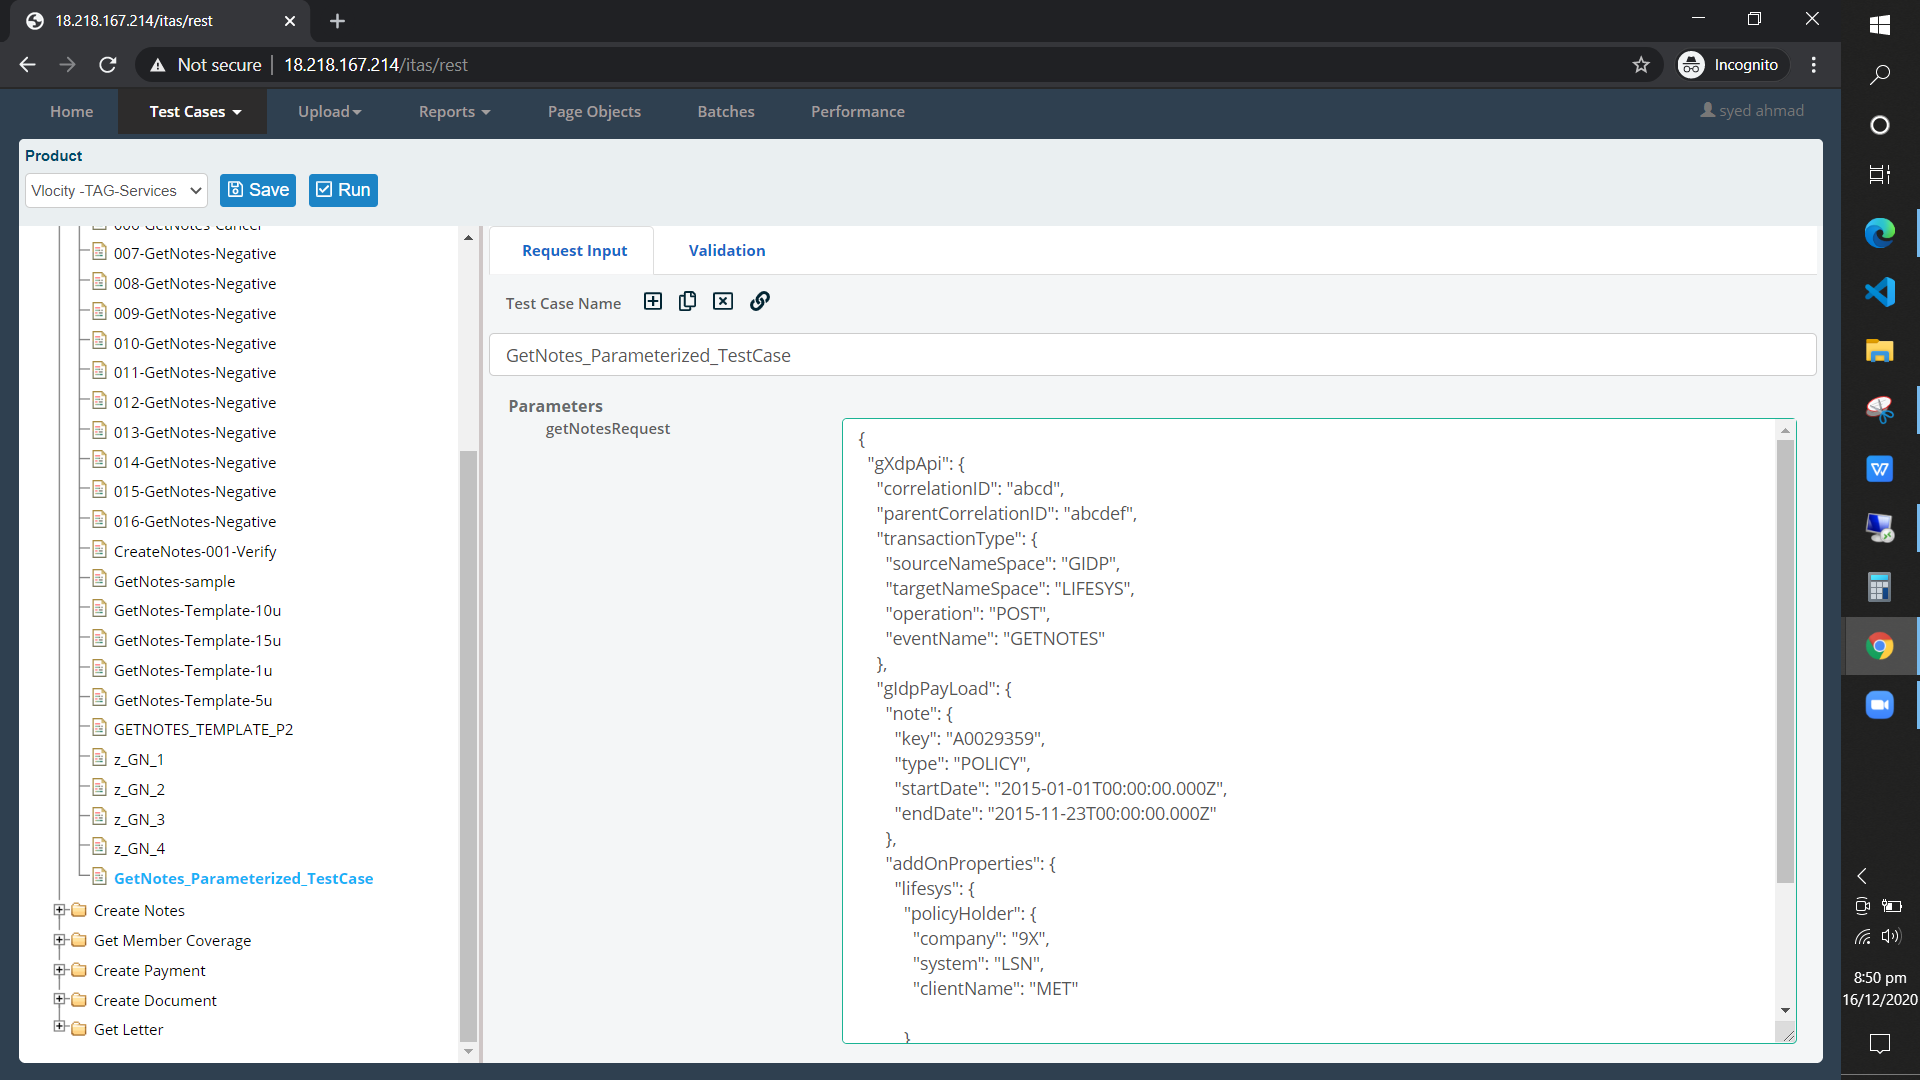
Now navigate to your newly created test case
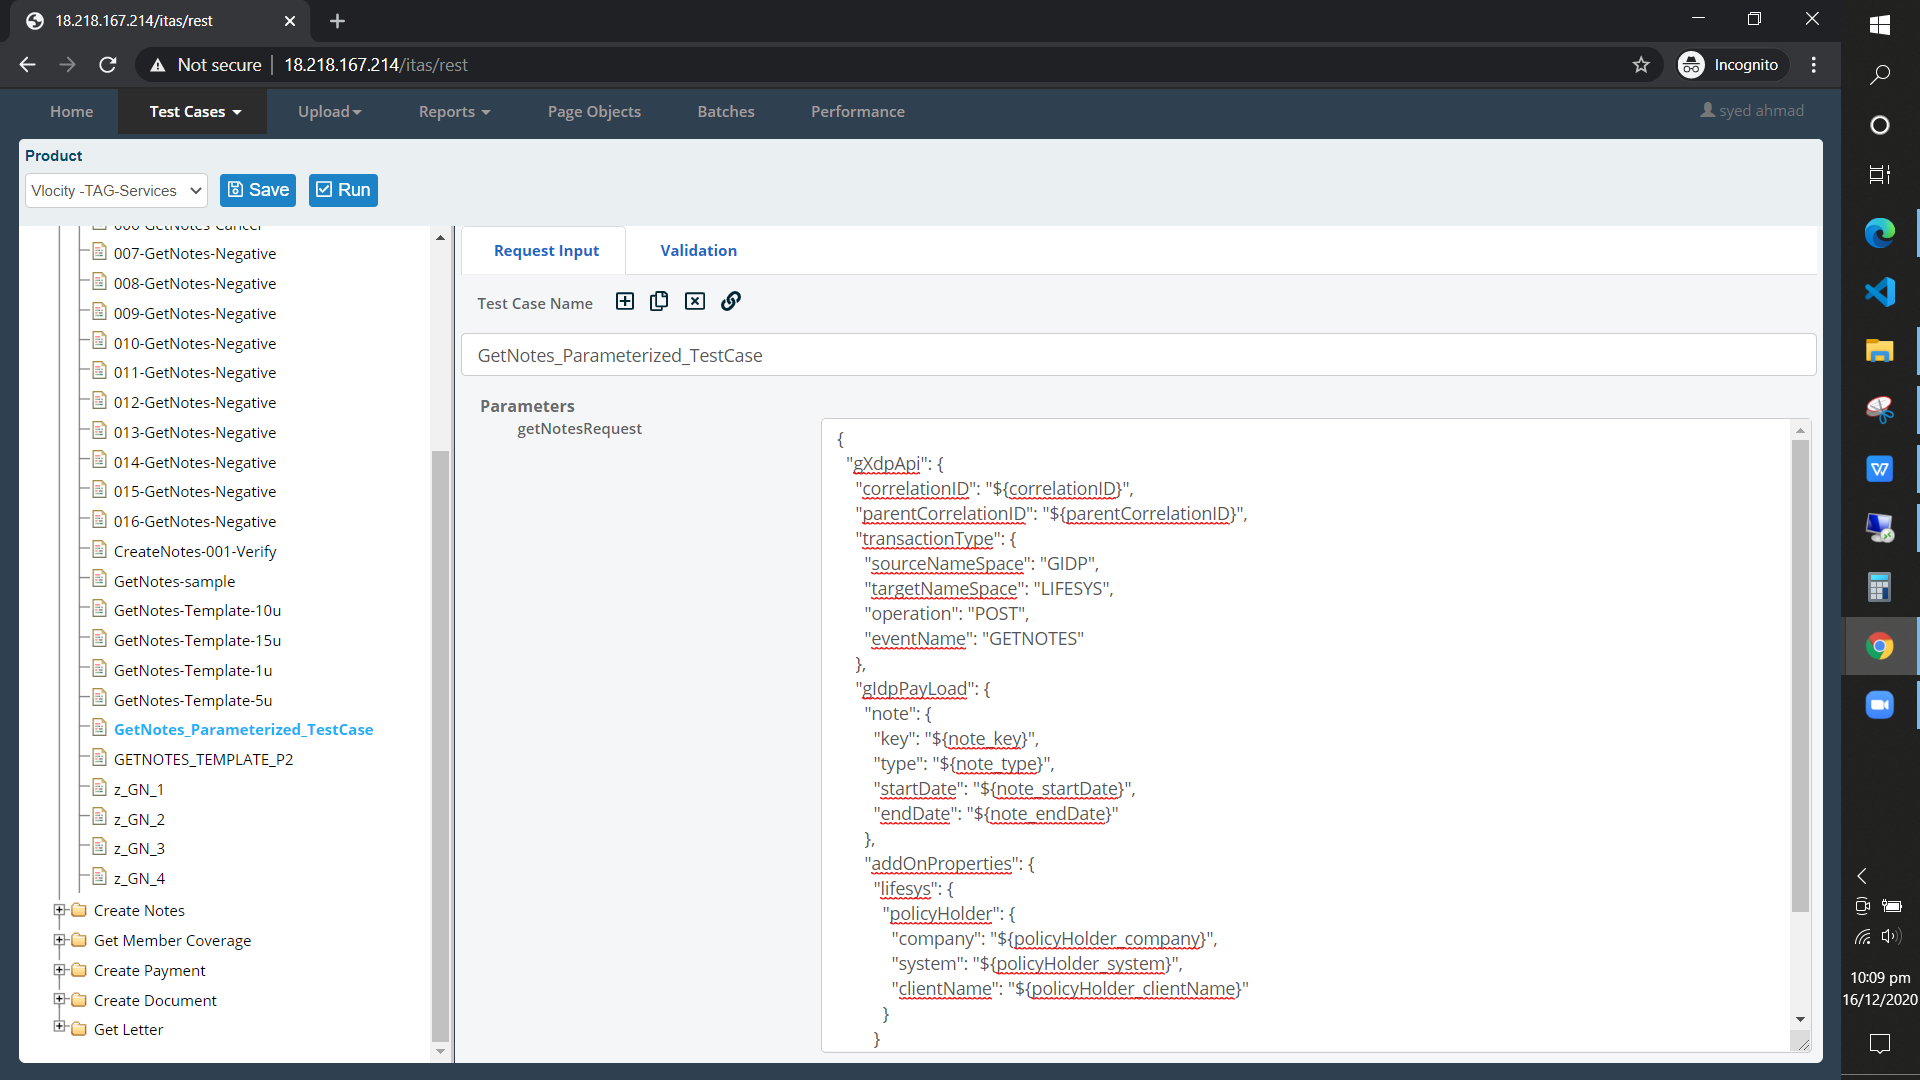
Now carefully parameterize all the needed fields as shown below by replacing the field values with the format mentioned earlier in this tutorial. After that click Save.
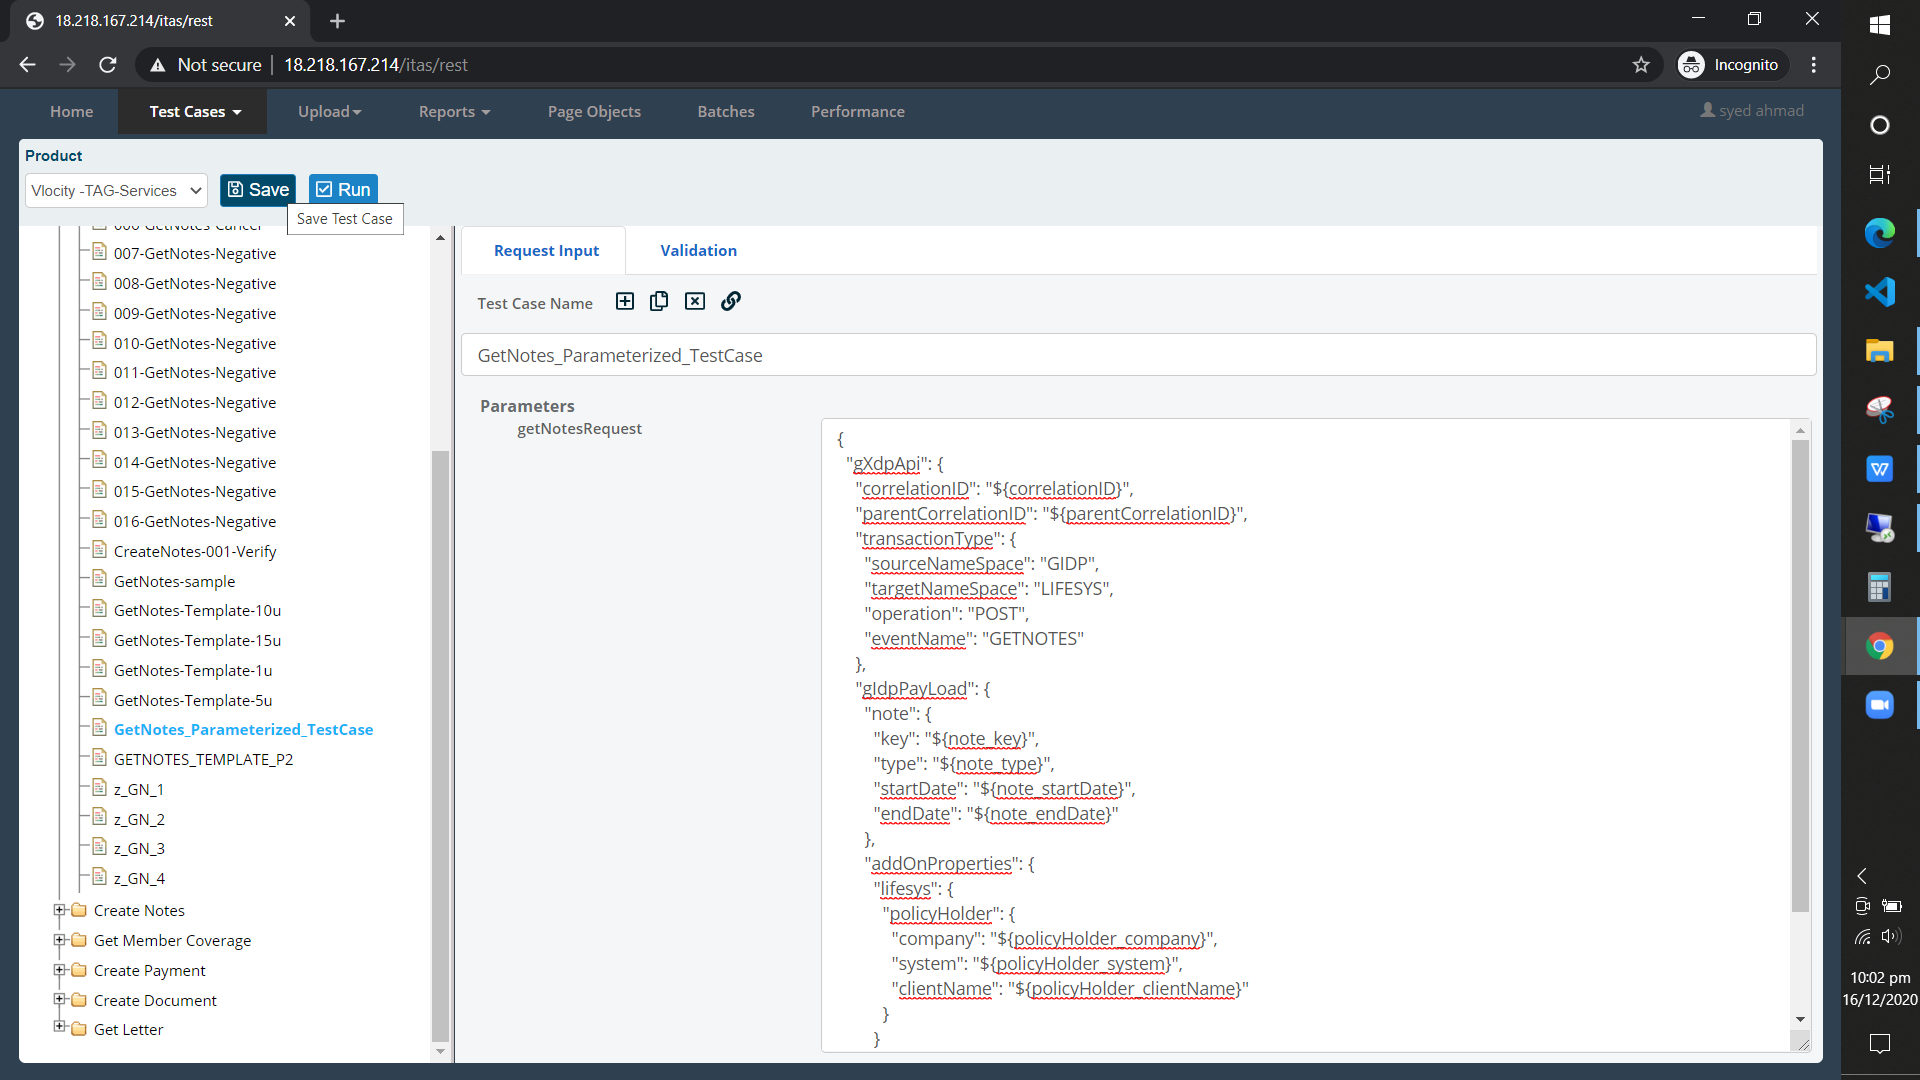
And that’s all you have created a parameterized test case. Now let’s see how to create a data spredsheet template for this next.
2. Create data spreadsheet
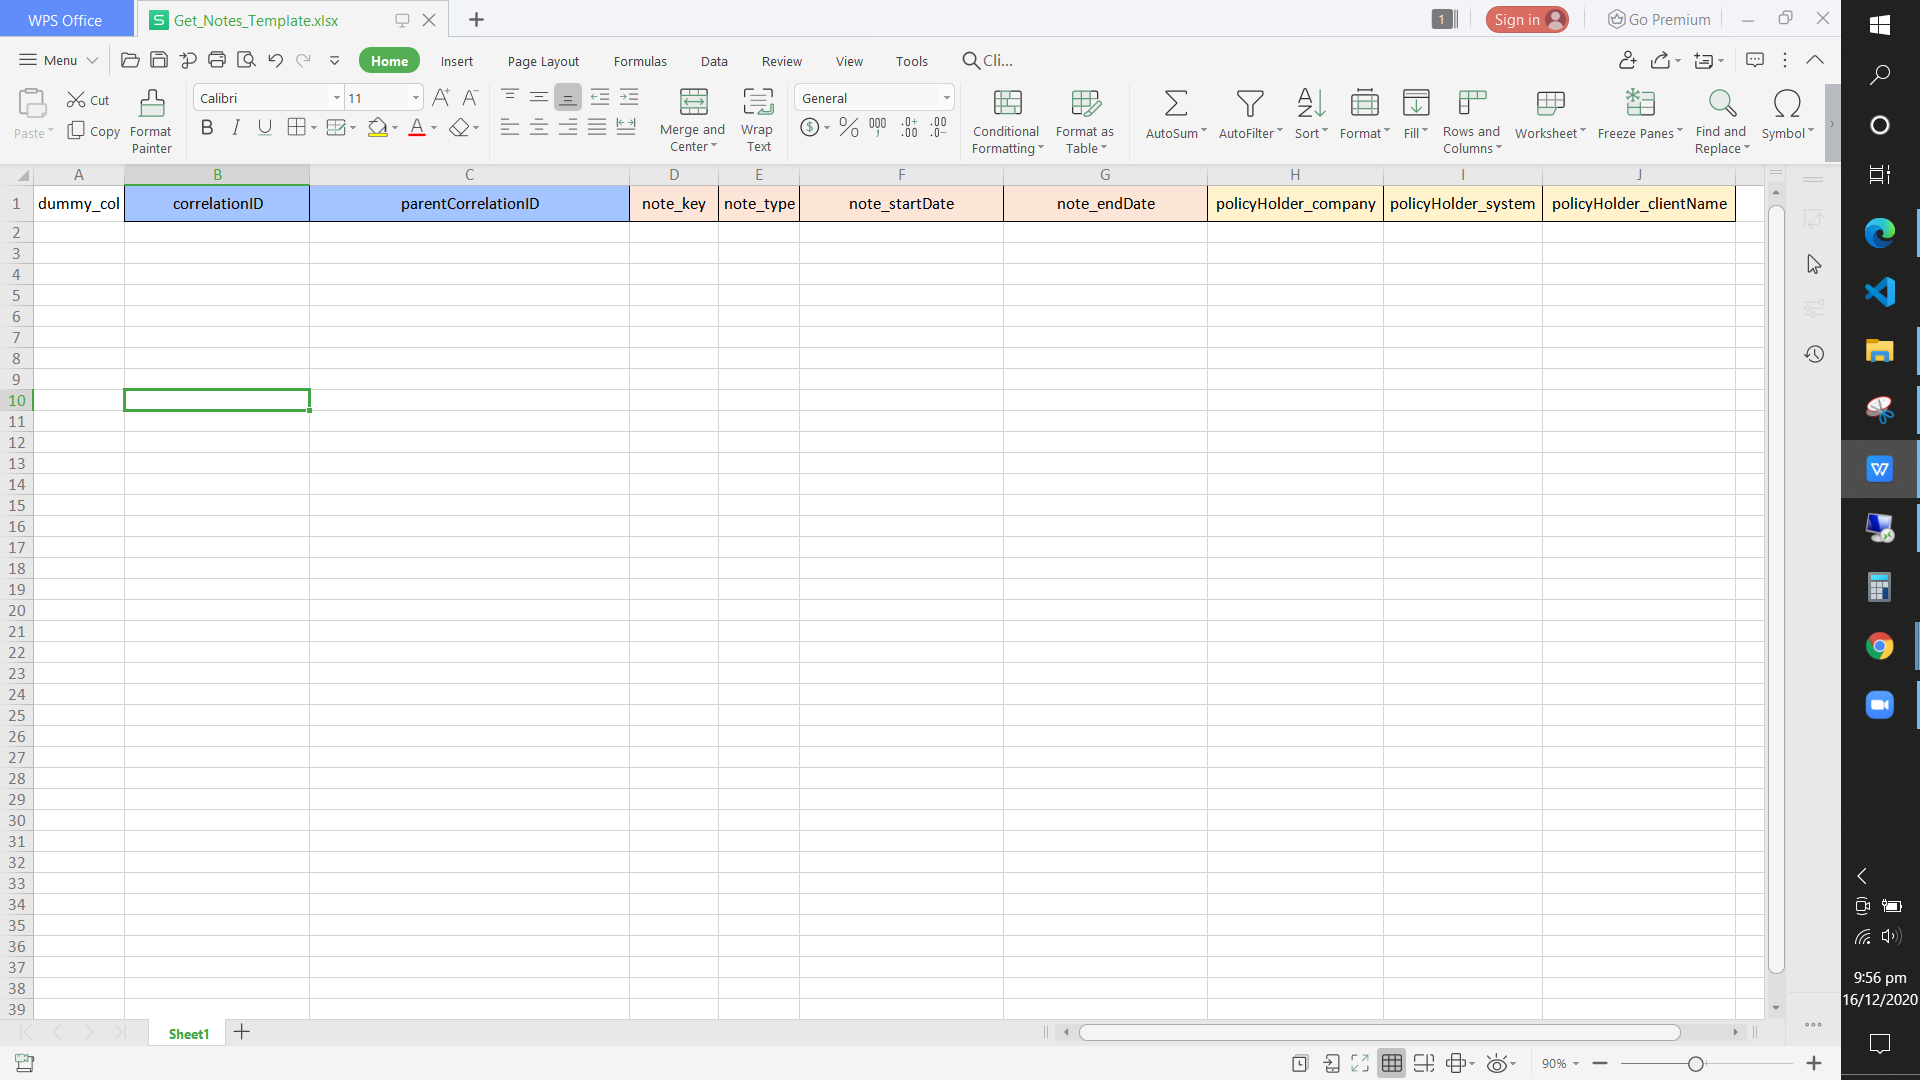
This step is rather simple. We just need to create a new excel spreadsheet and take all the
field's parameterized unique names from the previous step and put them as column headers in
the first row of the spreadsheet like shown below.
For example if you wrote ${note_key} for a field's value in the previous step, you will write only the note_key here in column header. Only the inner unique name is required when creating the data template spreadsheet
Important Note
Look at the first column A1 “dummy_col”. This is required for every data template you create. ITAS utilizes the first column of the data template spreadsheet for proper internal working so make sure you leave the first column empty with any column header name like “dummy_col”. Column header name is necessary otherwise it won’t work.
Assuming you have gathered data for this data template. Now let’s put some data into it as follows and save it.
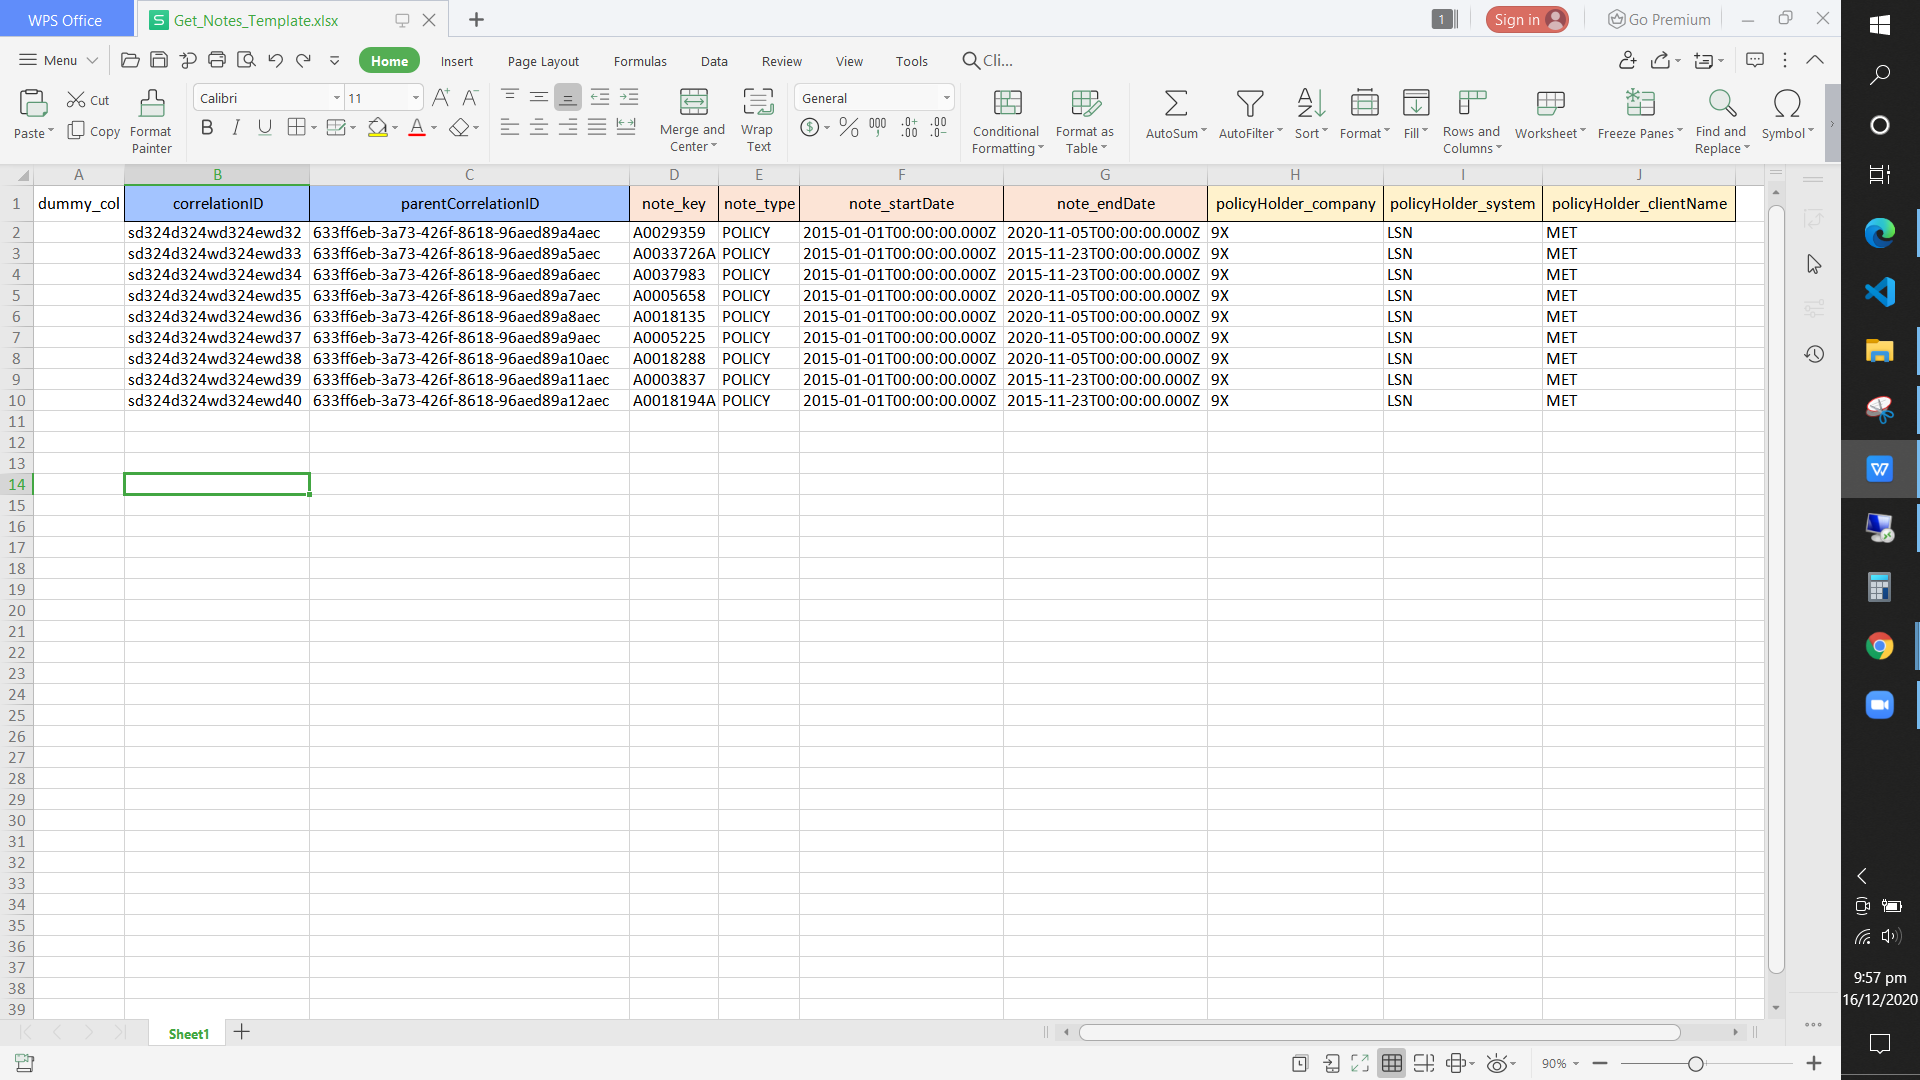
That’s all, just save it. Next we have to place this in a specific folder on the ITAS server and make small changes to the parameterized test case we created in the first step to be able to use this data spreadsheet.
How to add plugins to the Docker image?
3. Utilizing the data spreadsheet
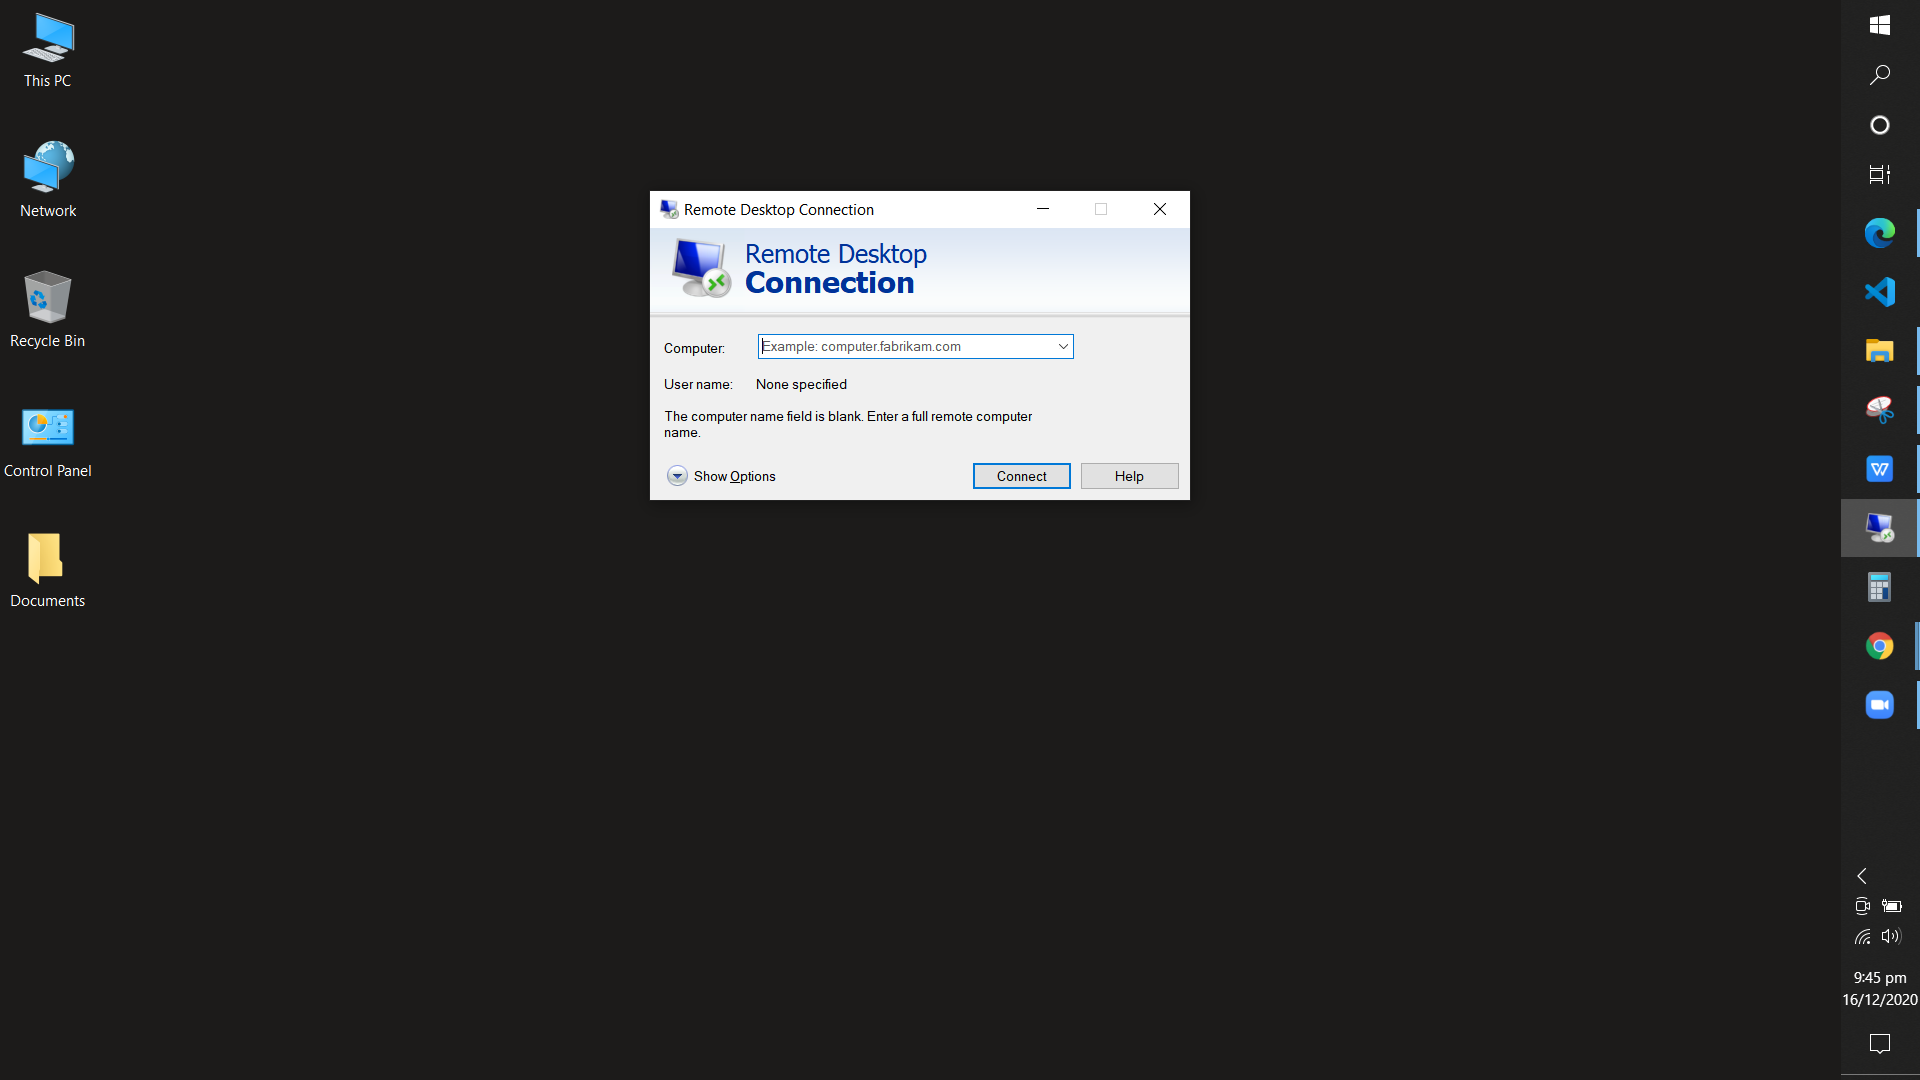
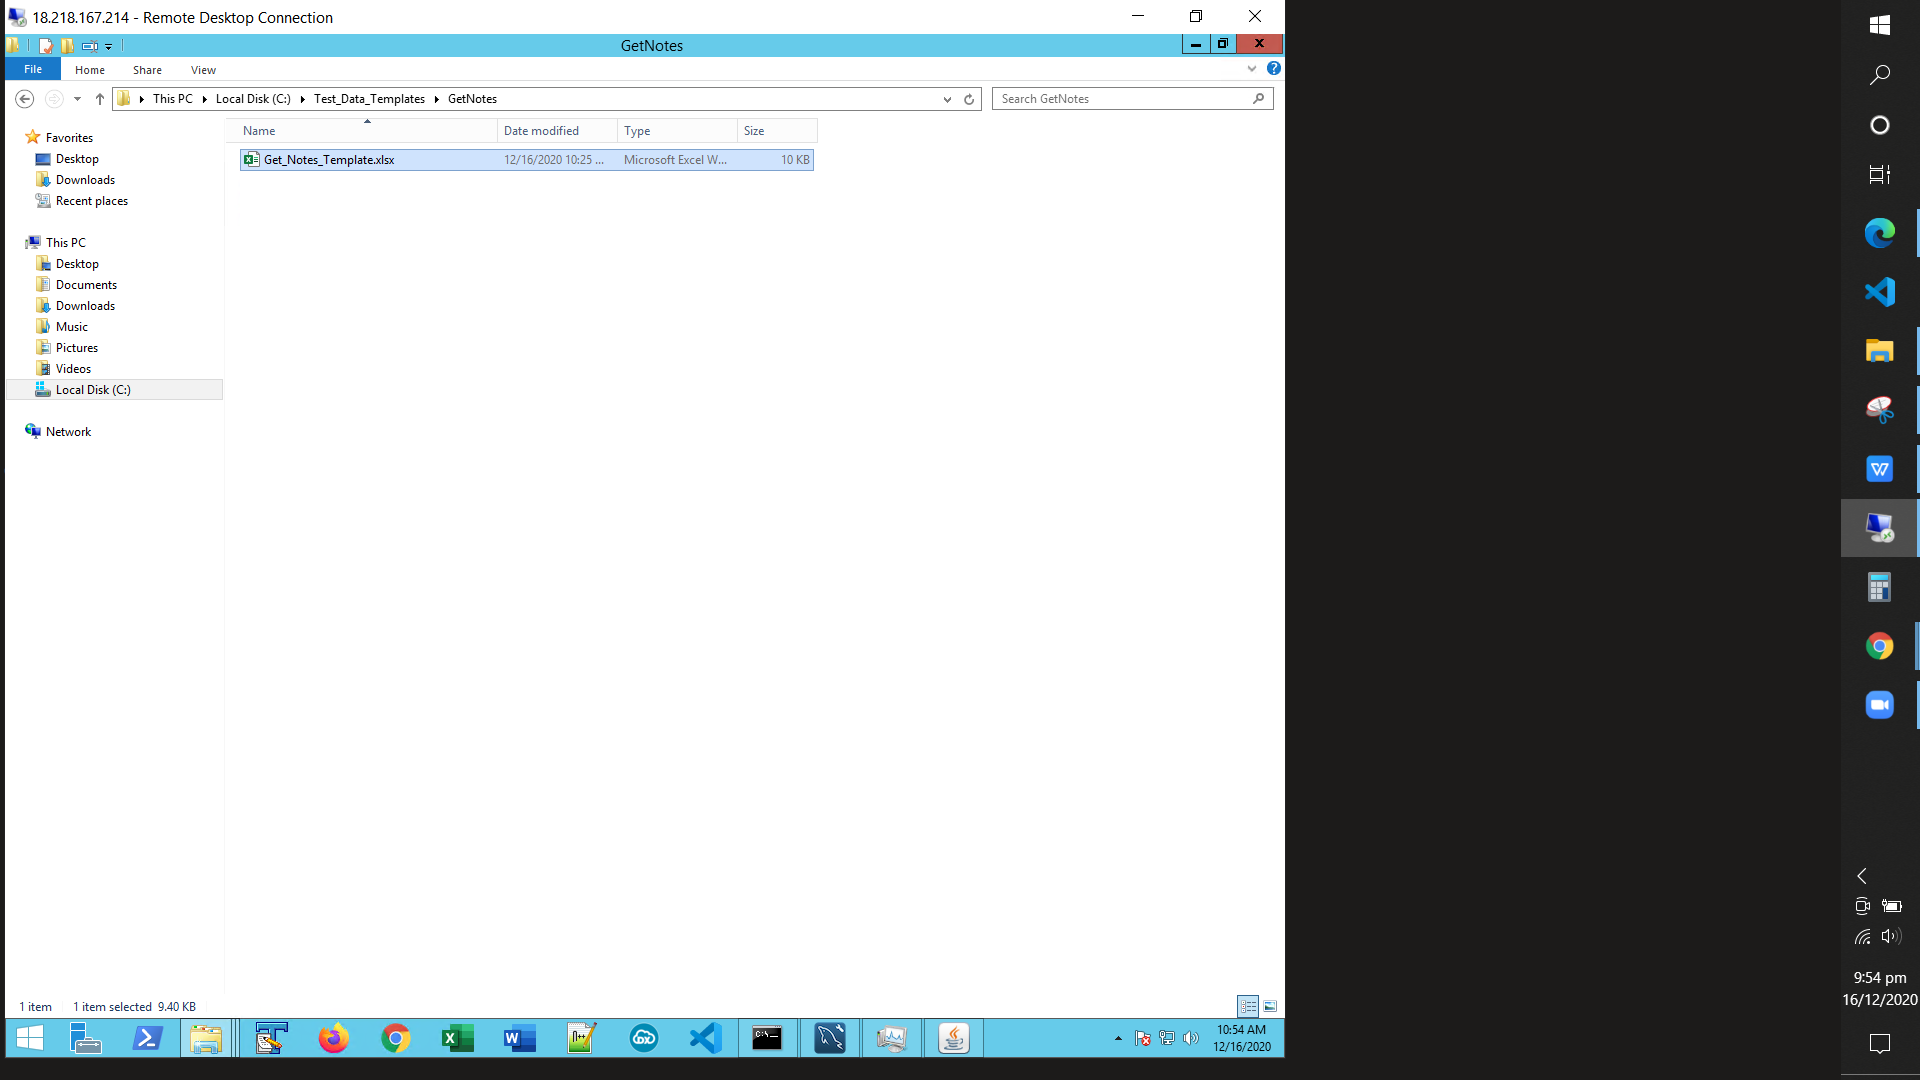
Connect to the your ITAS server and open C: drive
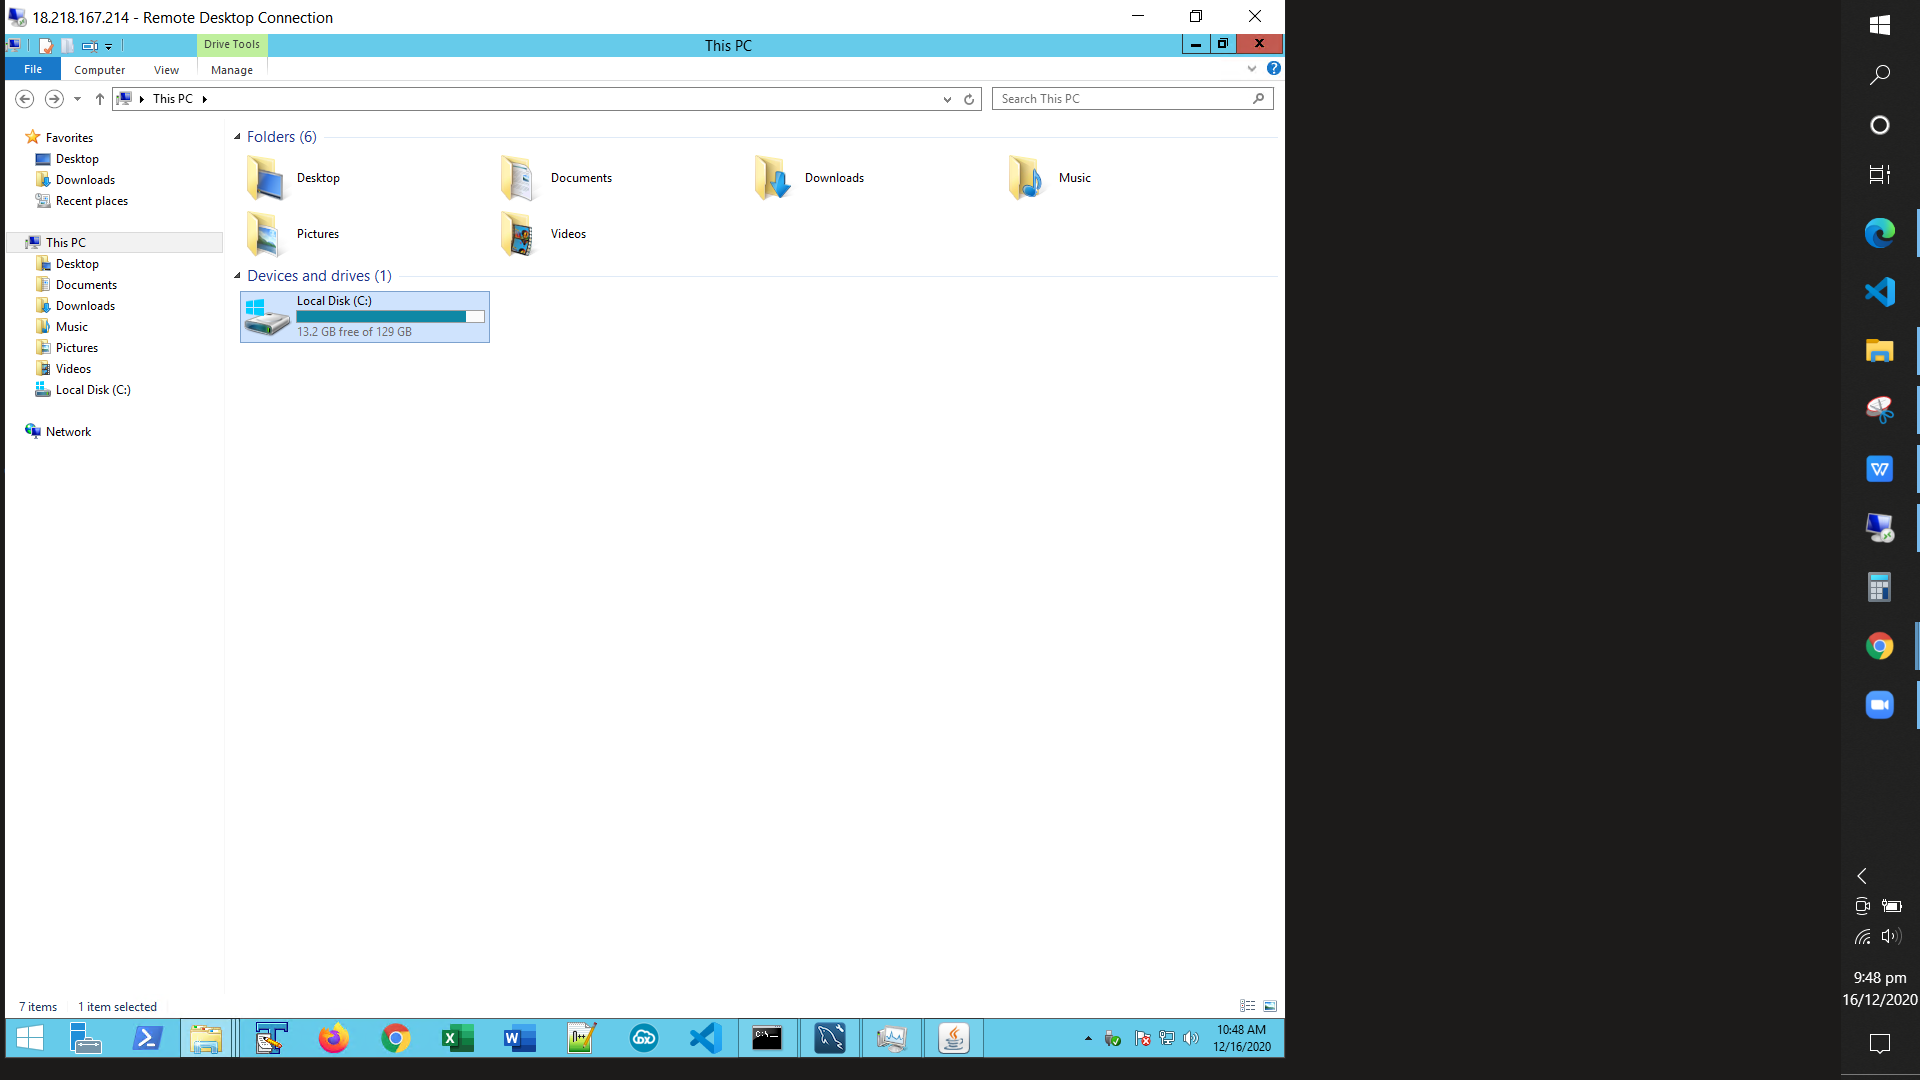
Create a new folder for all your data spredsheets. Let’s say we create Test_Data_Templates folder. You can put all your data spreadsheets here but best practice would be to create another sub-folder for each API. So, create a sub-folder name GetNotes and place the data spreadsheet that we created in step 2 inside this folder
Important Note
Remember the path to this data spreadsheet, we will need it later. In our case the path for this data spreadhsheet is
C:\Test_Data_Templates\GetNotes\Get_Notes_Template.xlsx
Now go back to ITAS web portal again and navigate to the parameterized test case that we created in the step 1.
Now we just need a way to tell ITAS to pick values for all the parameterized fields from the data spreadsheet we just created. To do that we need to add the path to that spreadsheet in the following format at the very top of the test case body
//Format
xlsx = "path of data template spreadsheet"

//In our case it would be
xlsx = "C:\Test_Data_Templates\GetNotes\Get_Notes_Template.xlsx"
Like this and click Save
Important Note
Whenever you make any changes to the test case body you need to Save it before doing anything else. Otherwise you might lose your changes.

Now when you click Run it will pick a random record from the data spreadsheet and replace the parameterized fields values with that record's data and send it as a request body.
Result
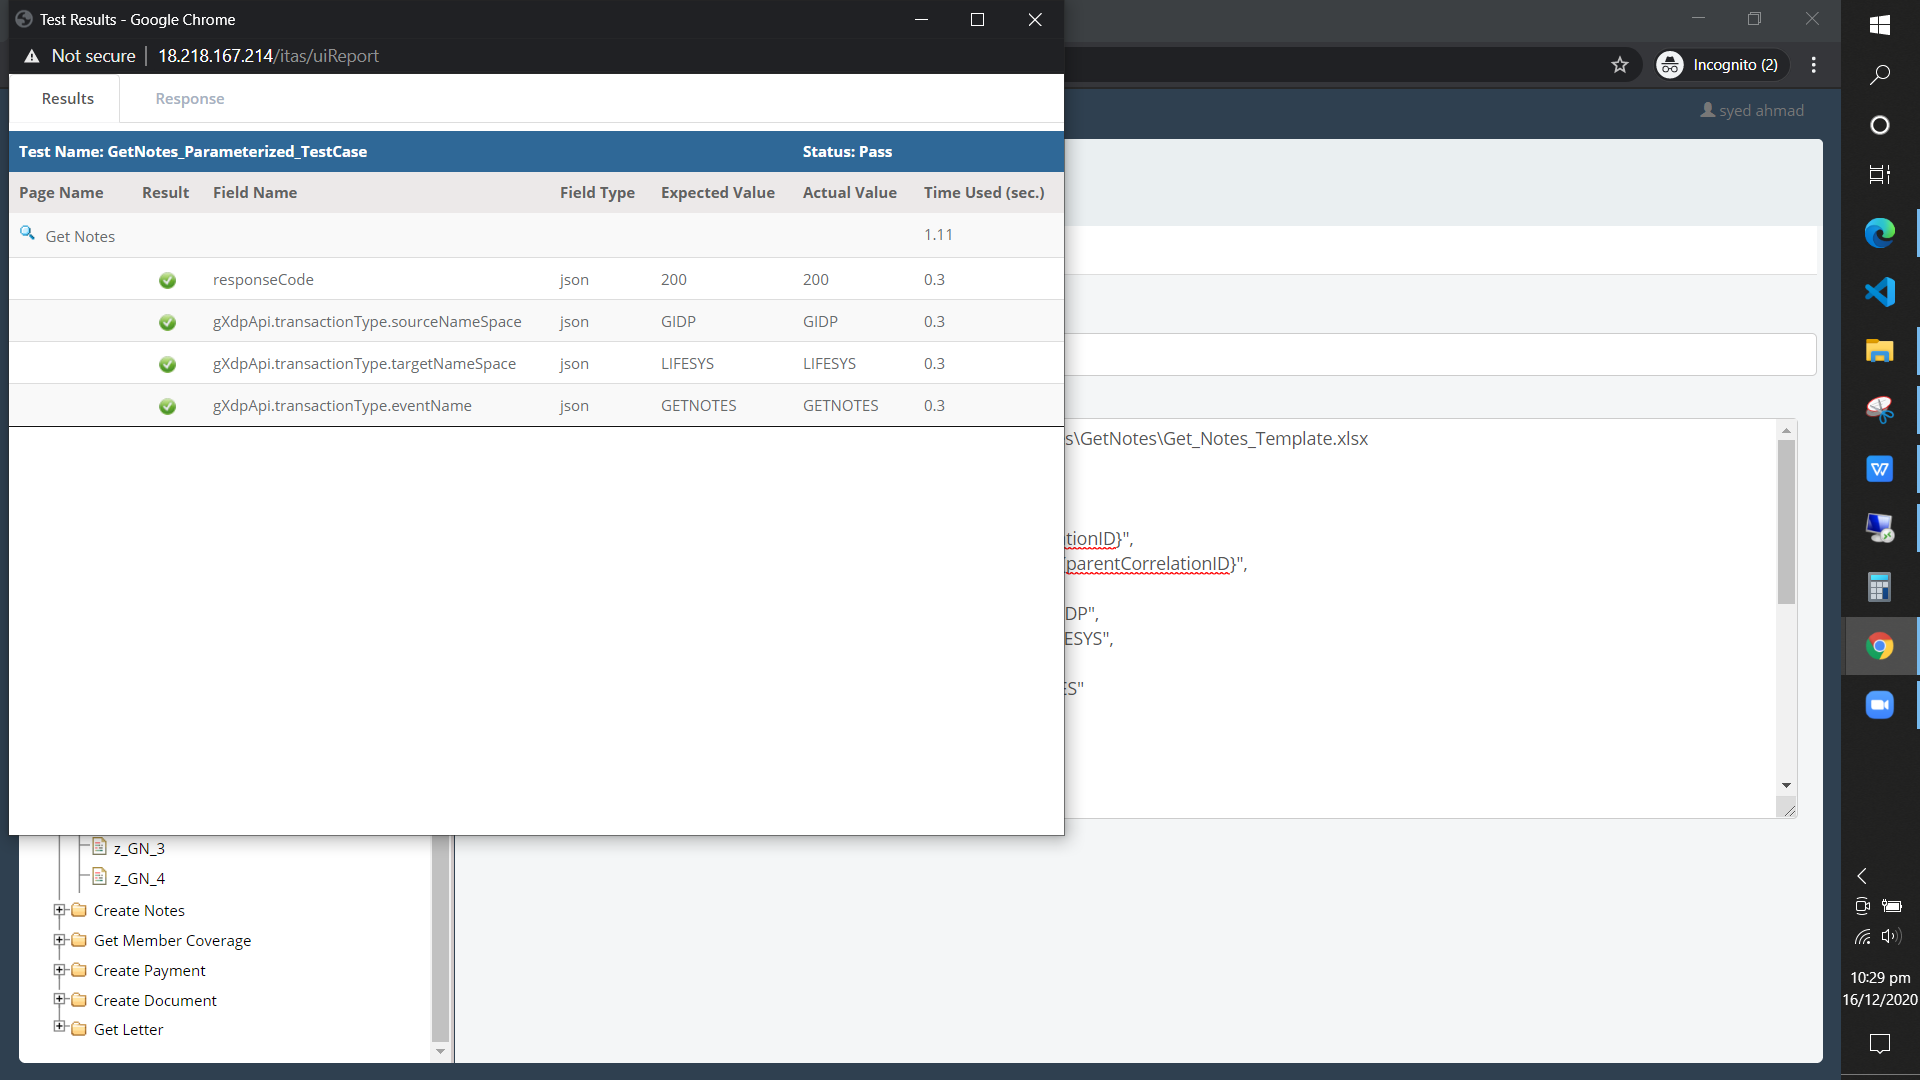
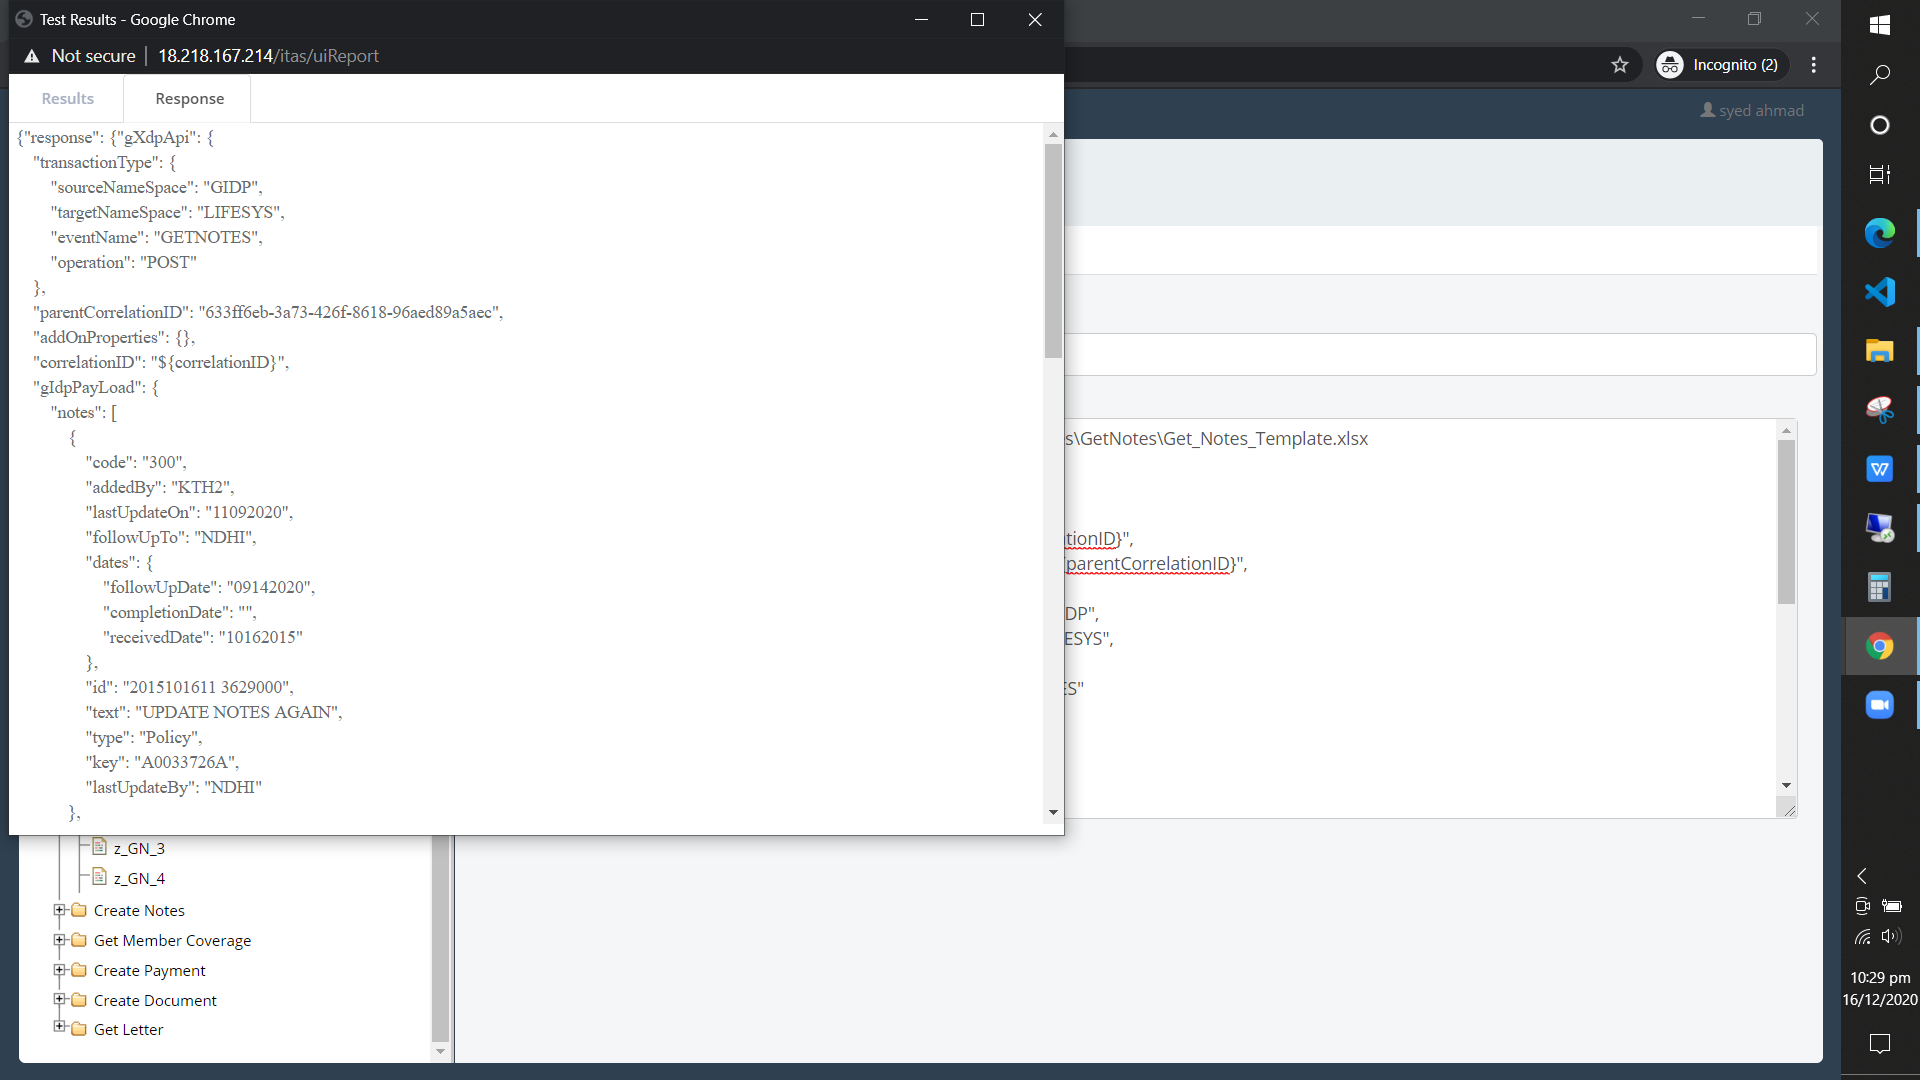
As you can see we received a response and all test case validation passed. So this was a success.
Amazing job, you are one step closer to do the real thing. KUDOS !!